
Are you interested in a private AI ChatGPT that lives on your own Windows PC? There are certainly concerns with having discussions about financial or medical topics that you may not want to send to a cloud service. There have been (and will continue to be) data breeches in all kinds of major public cloud services in the past, and preserving your privacy online is something that we all have to take seriously.
In this guide we will walk you through setting up 2 tools that make it possible to continue using AI chat bots but keep your data to yourself.
- Ollama an application that runs AI models on your laptop and
- Open WebUI a user friendly chat client that will feel very familiar if you’ve used commercial offerings such as Claude or ChatGPT.
The best part? We can automate most of the process with a PowerShell script so you won’t need to type much in yourself.
NOTE: I should point out that the type of AT models that I can run on my laptop are TINY compared to the models running in OpenAI or Microsoft data centers. These chat clients are not as capable, they can't make pictures, and they will struggle with some tasks. They can be slow to response. The point here isn't to make a replacement for chat services, rather to demonstrate one option to use chat privately on YOUR hardware.
What You’ll Need
- A Windows PC (Windows 10 or 11 recommended)
- Administrator privileges on your computer
- Internet connection
- About 15-20 minutes of your time
Step 1: Install Script
First, I pulled together a PowerShell script that is going to do the heavy lifting on this one for you. We have to use PowerShell with Execution Policy Bypass. I know there’s some technical terms here, but you can do this. It only takes a few minutes, and the script is doing most of the work.
Speaking of script. Let’s download it from my GitHub — https://github.com/stumonster/blog_post_general/blob/main/ollama_open_webui_install.ps1
Now it’s time to run the script… it will download Open-WebUI chat client and the Ollama application that will manage your models for you.
- Right-click on your Windows Start button
- Select “Terminal (Admin)”
- Navigate to the folder where you saved the script
cd path\to\your\script\folder - Copy and paste the following code into the file:
powershell -ExecutionPolicy Bypass -File ollama_open_webui_install.ps1

This script will take a while to run but keep you informed of the process. It is installing Python if you do not already have it on your system. This is just the easiest way to run Open-WebUI.
Step 2: Run the Start AI Environment
After the installs are complete, it will drop an icon on your desktop to quickstart everything that needs to be running for chat.
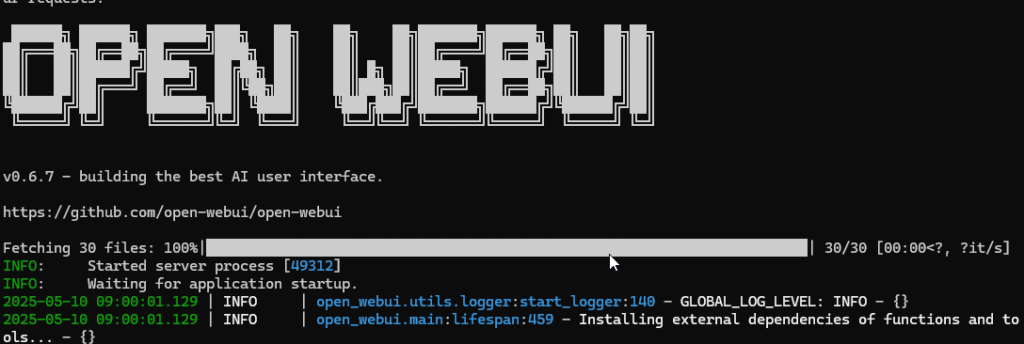
When you run this the first time… a bunch of additional Python libraries will be installed that support Open-WebUI. When its up and running you will see:
Step 3: Choose and Download a Model
Now that Open-WebUI is running on your system, you can interact with it in your regular web browser… just visit this link http://localhost:8080. It’s “localhost” because it’s running on your machine!
Open-WebUI will require you to make a new account in order to administer the system.
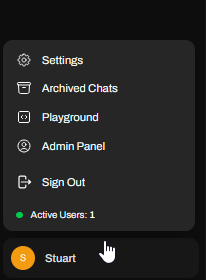
As the administrator, click on your user name in the bottom left and choose Admin Panel.
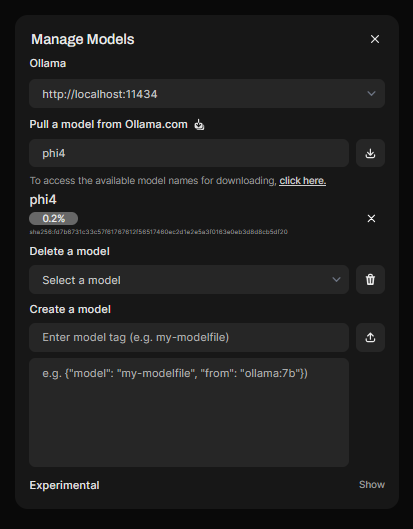
Now select settings, model, and click the little tiny download icon on the top right.
Here is where you manage your available models.
This is the last setup step. We need to choose a model. There are actually lots and lots of open source models that you can download and use locally. There is a catch though… some models are gigantic. Way too large to run on your personal laptop. These can be distinguished by the “parameter” number that is shown with the model’s name on the Ollama site — https://ollama.com/search.
You have a good chance of running something that is 1B-4B parameters on a basic laptop. Maybe up to 15B on a heavy-duty gamer or developer machine… When you start getting larger you are going to need special hardware so we’re not talking about those. Focus on things in the 1B-4B parameter range.
For my basic laptop for this test, I recommend Microsoft’s open-source Phi3 model. Another great recent option is the Gemma3 models from Google.
Type “phi3:mini” in the “pull a model from ollama.com” box and click the download button. Or try out “gemma3:1b” instead.
Wait for the download to finish.
Step 4: Chat
That’s it!
Just click on New Chat in the top left of your screen and start talking just like in any other web chat client. The difference is that now all information is staying on your laptop. Your conversations are stored in a local database instead and the model is actually running on your machine.
Wrap Up
This is a lot of technical stuff. You may not care to do this amount of work to run an AI chat locally on your machine. I love that there are enough open-source tools and models available that we have the option though. Give it a try and let me know how it works for you!