
Welcome, AI enthusiasts! Today, we’re solving the problem of managing your multiple AI experiments across Azure regions and resource groups by diving into LiteLLM. We’ll go through how to deploy into your Azure environment and supply the ARM template to get started.

Introduction to LiteLLM
LiteLLM is a lightweight AI endpoint management tool available on GitHub – https://github.com/BerriAI/litellm. It allows you to call any AI endpoint [Azure OpenAI, Anthropic, Huggingface, Cohere, Mistral, DeepSeek, Gemini etc.] and always using the OpenAI API format for your calling app.
Perfect for developers looking to integrate LLMs into my Azure-powered projects, LiteLLM allows me to use all my Azure OpenAI endpoints across multiple deployments, versions, and regions all from a single endpoint.
Prerequisites
Before we embark on this deployment journey, ensure you have the following:
- Azure Account: If you don’t have one, sign up here.
- Basic Understanding of ARM Templates: If you’re new, fear not! We’ll break it down.
- Access Permissions: Ensure your Azure account has sufficient permissions to deploy resources.
- PostgreSQL Database: Technically this is optional with LiteLLM but in reality if you want to manage your endpoints through the UI this is a requirement. This is a topic that is covered extensively elsewhere but we’ll go with the Microsoft guide here for how to deploy your own if you haven’t already done so. The ARM template will probably complicate your PostgreSQL deployment, so just deploy a basic one in advance.
ARM Template
An Azure Resource Manager (ARM) template is a JSON file that defines the infrastructure and configuration for one or more deployment pieces in Azure. Think of it as a blueprint for your cloud resources, ensuring consistency and repeatability.
Here’s the ARM template we’ll be using.
Step-by-Step Deployment Guide
Step 1: Access Your Azure Portal
- Log In: Navigate to the Azure Portal and sign in with your credentials.
Step 2: Navigate to Deploy a custom template
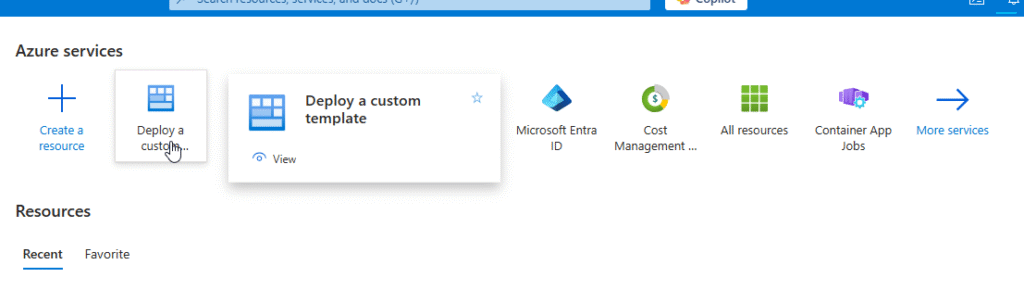
- Get started by choosing the Azure service “Deploy a custom template”. If that’s not already on your recent services list, you may need to find it under “More services on the right side
Step 3: Deploy the ARM Template
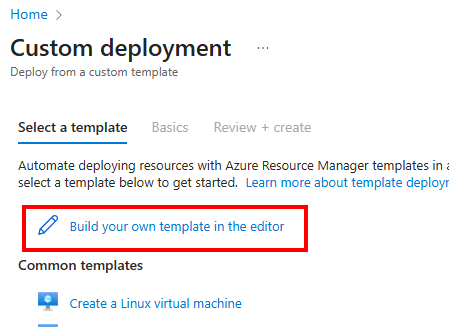
- Click on Build your own template in the editor.
- On the next screen either Load your template from disk or paste in the window.
- Click Save
Step 4: Configure Deployment Parameters
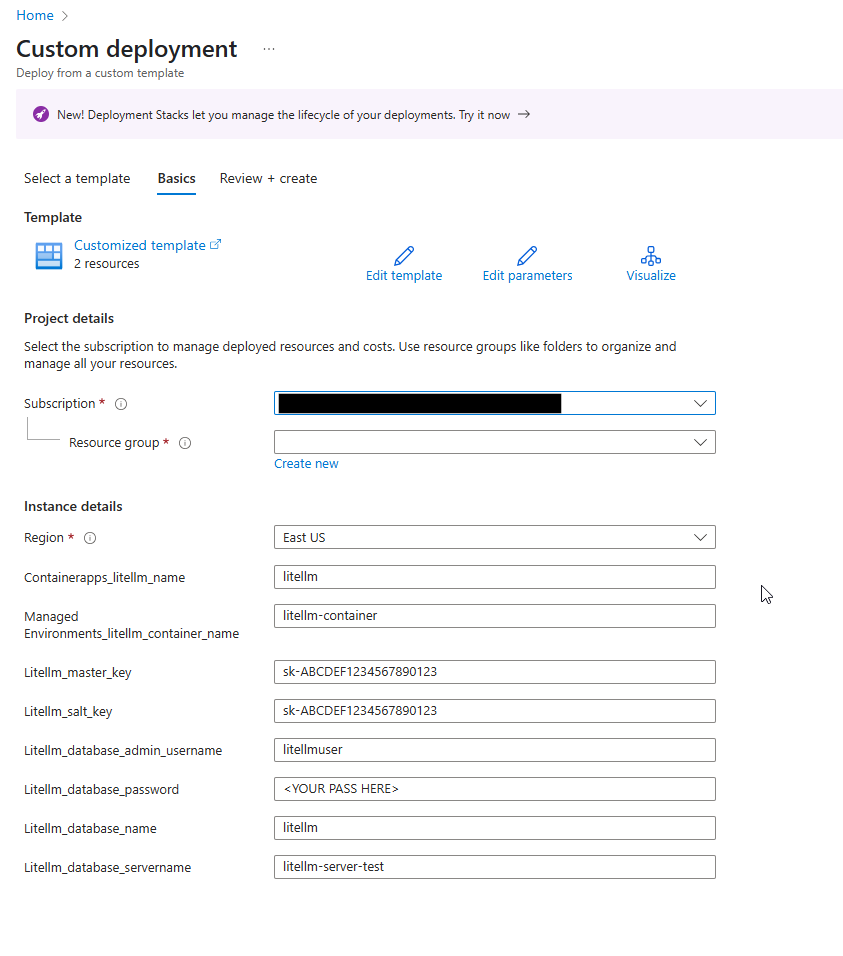
- Review Parameters
- Choose the Subscription and Resource Group (probably the one where you deployed your postgresql database earlier)
- Customize if Needed:
- You can rename the container app environment or container app name
- Also there is a placeholder Litellm master key and salt. Use the same format of these but make your own values like sk-ADD YOUR HEX PASSWORD HERE
- Remember your master key, its not only the base API key for your environment but it is the admin key for logging into the UI.
- Database Values: Add your database server, database name, admin username and password from when you created your PostgreSQL database earlier.
Step 5: Review and Create
- Validate Template: Click on “Validate” to check for any errors in the template.
- Review Summary: Once validated, review the deployment summary to ensure everything looks good.
- Initiate Deployment: Click “Create”. Azure will now spin up the resources as defined in your ARM template. Grab a coffee; this might take a few moments.
Post-Deployment Verification
Congratulations! You’ve deployed LiteLLM to your Azure environment. But wait—let’s make sure everything is in tip-top shape.
- Navigate to Container Apps: In your resource group, locate the “Container Apps” section.
- Check LiteLLM: You should see your newly deployed
litellmapplication running. - Monitor Status: Ensure that the app is in a “Running” state. If not, check into the logs for troubleshooting.
- Access the Application: Depending on your ingress settings, access LiteLLM via the provided URL in the application screen to confirm it’s operational.
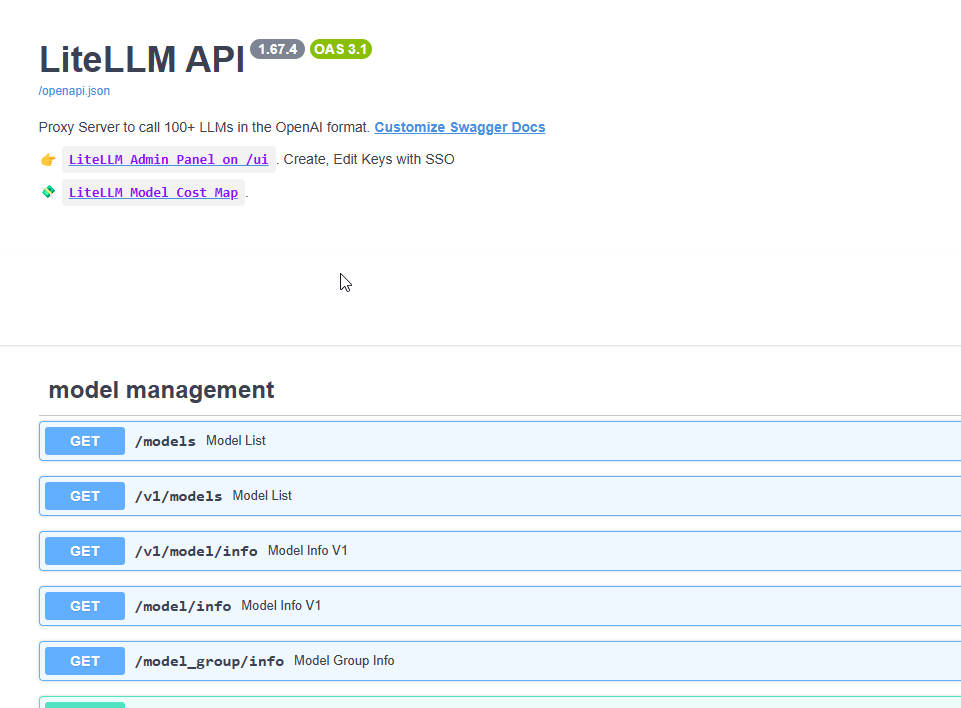
After deployment, going to the root URL will show the Swagger definition for this endpoint. Notice that it looks very much like an OpenAI endpoint. There is also a link on the Swagger page to the UI. Click that and log in with username admin and password ^^^^^ the MASTER KEY property you created when deploying your container instance.
Wrapping Up
Deploying in a production environment would take advantage of higher security options such as key vaults. For development and experimentation purposes this simple deployment should show you how to get started managing your multiple AI API endpoints.
Next time we’ll followup with some additional tools that you can use in your environment to continue testing with Generative AI.
Happy deploying!